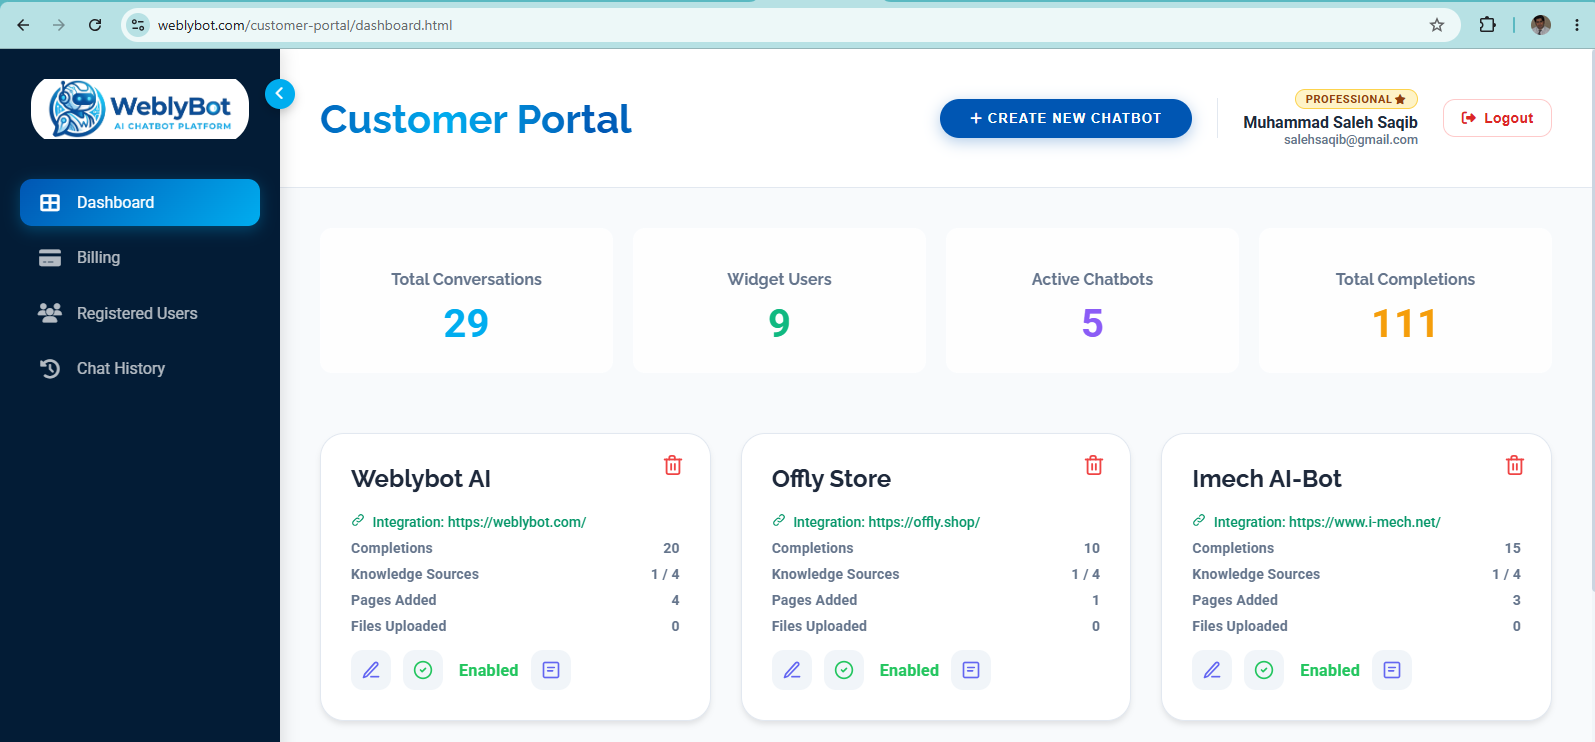
Step 1: Make a Free Account
Welcome! Let's get you set up so you can start creating smart chatbots. Creating an account is completely free and takes less than a minute.
- 1. Go to the WeblyBot Homepage.
- 2. Click on the blue "Get Started" button at the top right of the screen.
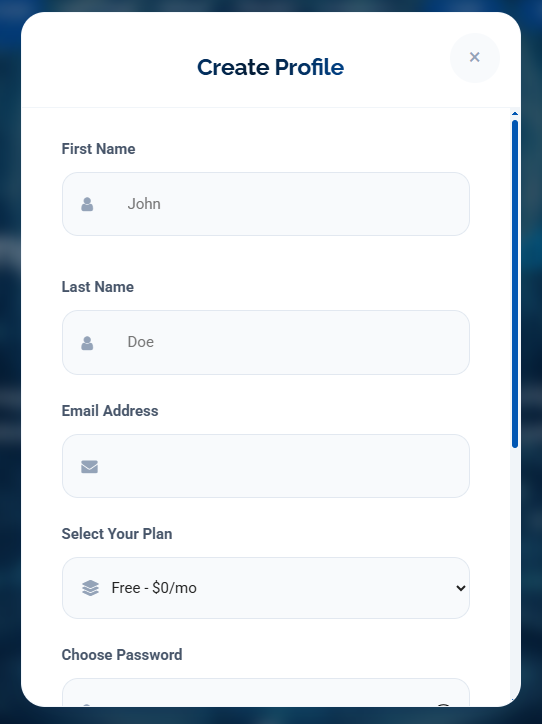
- 3. A registration form will pop up. Type in your First Name, Last Name, and Email Address.
- 4. Choose a secure password, select the "Free Plan", and click "Finalize Registration".